Dan Pelosi, better-known to his devoted Instagram followers as Grossy Pelosi, loves to break the accepted foodie rules. While a whole turkey is traditional on Thanksgiving day, he makes a pretty solid case for why you might want to ditch it this year.
"I don't know who roasts a turkey on any other day of the year besides Thanksgiving," he says. "Truth be told, I do not like the process, even for the holiday. It takes forever, the white meat always gets dried out. This recipe, though, allows you to have delicious roast turkey with way less effort, time, and well, meat."
Instead, Pelosi makes just the legs and thighs, a brilliant hack that allows for plenty of juicy dark meat in less time and with less trouble than roasting a whole bird. (Plus, you won't need to panic over where, exactly to insert your meat thermometer, one of the most annoying parts of cooking a whole bird.) We asked him to share his secrets, including his recipe for beautifully thick gravy: You might be convinced to become a rule-breaker this year, too.
Roast Turkey Legs and Thighs, from Dan "Grossy" Pelosi
INGREDIENTS:
- Turkey legs and thighs
- Unsalted butter
- Salt
- Pepper
- Flour
- Chicken stock
INSTRUCTIONS:
1. Take your turkey parts out of the fridge an hour before cooking. They should be close to room temperature before you place them in the oven. Speaking of the oven, bring her to 350º.
Remember, we are doing legs and thighs here, as pictured above. If you want to do white meat, you can do turkey breast or tenderloin along with the legs and thighs. You will just need to cook for a shorter time period and to a different internal temperature. See step 5 for more.
2. Pat your meat dry with a paper towel to remove any excess moisture. This will help your meat crisp up as it roasts.
3. Using your fingers, spread PLENTY of softened unsalted butter under AND on top of the skin of your turkey. You will have to do a little work to pull the skin back, but this is part of the fun.
4. Generously salt and pepper your meat as well.
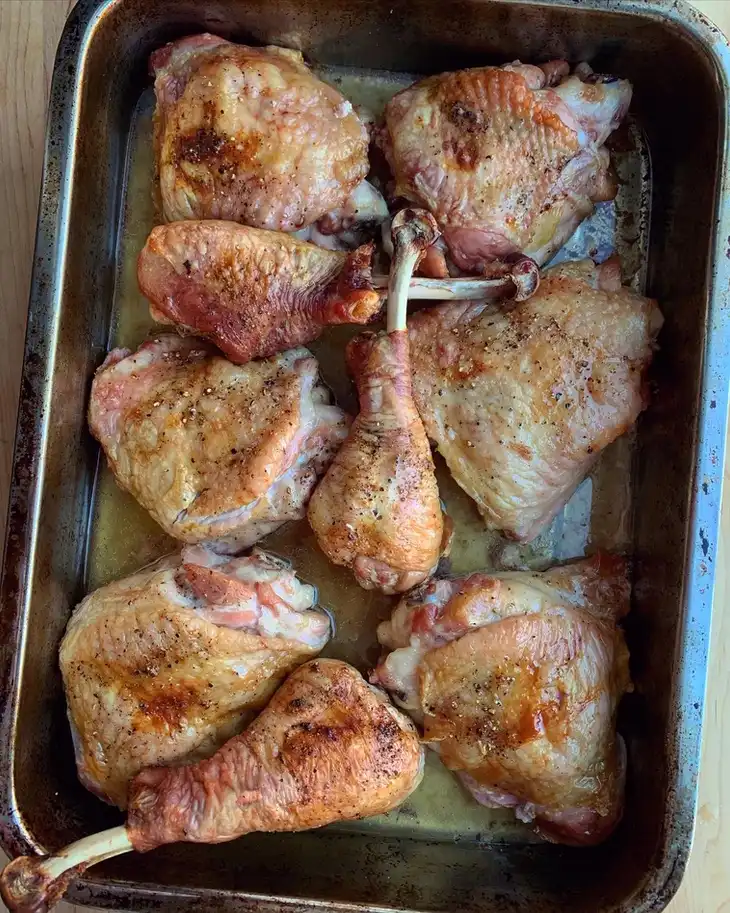
5. I am using two pans here. I have my turkey legs (not yet salted or peppered, but it happened) in this smaller pan. Depending on how much turkey you are cooking, you can roast your turkey parts in one or several pans.
Roast the turkey legs and thighs for about 60-90 minutes. More than most things you place in your oven, turkey needs to be checked in on regularly. You really don't want dry turkey, and it happens easily! Also, you'll want to rotate your pans a few times in the oven to ensure even roasting.
The ideal internal temperature for eating dark meat is 175º, so I pull mine out at 170º as it will cook a bit longer after you pull it out of the oven. You would ideally use a meat thermometer here, sticking it into a thick part of the turkey to get an accurate read. You can also slice into the meat and if the juices run clear, you are good.
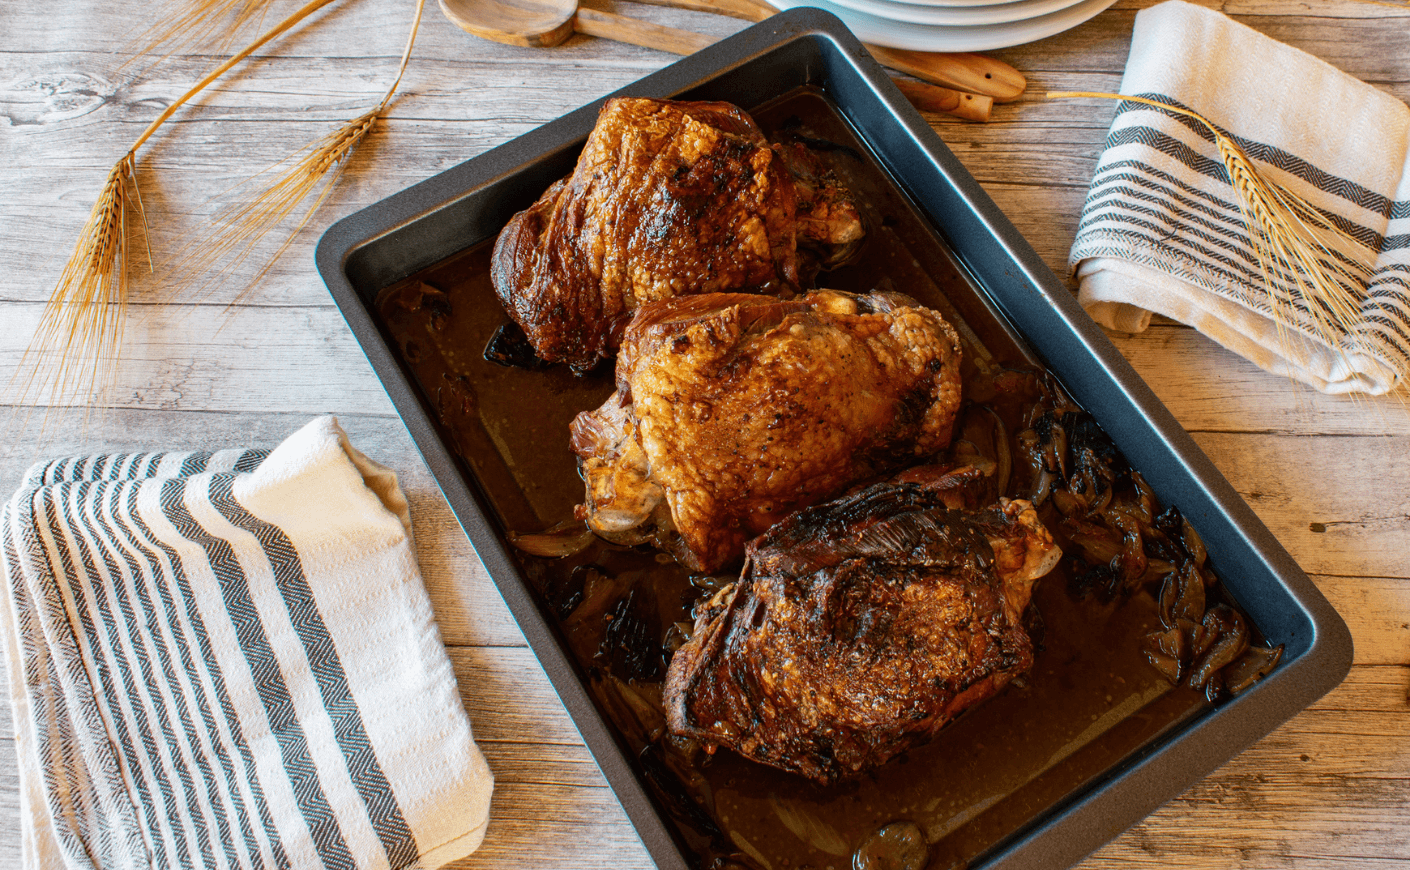
6. Look at these gorgeous perfectly roasted pieces of turkey! Remove them from your pan(s) and cover them to rest.
7. Now we make the pan gravy! You will need to save ALL the juices and ALL the crispy browned bits on your pans. Let the juices sit in a pyrex or other container for about 5 minutes, or until the fat separates and rises to the top. Skim the fat off your juices. You want as much clear juice as possible.
8. Place your pan on your stovetop and turn your burners to medium heat. Pour your juices into your pan and let it simmer for a few minutes. Using your whisk or a scraper, begin to loosen the browned bits on the bottom of the pan and get all of them off and into the liquid. There is so much flavor is in these bits, so get every single last one. If you used multiple pans, congregate all the bits into your one gravy pan!
9. There is a good chance you will not have enough juices in your pan to make the amount of gravy you want, so here is where you can add turkey or chicken stock to your pan! It's the perfect way to make your pan juices go further.
10. Place 2 tablespoons of flour into your empty pyrex, and ladle about half of a cup of juices into it. Using a whisk, make a thick paste from your juices and flour.
11. Add your paste into the pan, whisking furiously and sautéing until your gravy is bubbling begins to thicken. If your gravy just isn't thick enough, you can gently add more flour. Just be sure to whisk it in as you add to avoid lumps! There you have it: gorgeous, thick, delicious pan gravy.