


Regular home maintenance packs a one-two punch of benefits: Taking good care of your living space not only helps your appliances last longer, but it also conserves energy and saves money on your electricity bill.
Kyshawn Lane knows this well. You may have seen him on Instagram, where his Weekly Home Check account offers followers practical advice about smart upkeep of the places where they live. Lane became the first member of his family to buy his own home when he purchased a new place in 2020, and as a former renter, he planned to outsource the maintenance — until he realized just how much that can cost.
"I brought my home right at the start of Covid, when it was very much a figure-it-out era, and I took that time to learn how to maintain my home and everything in it," Lane tells us. "Our systems and our appliances come with heavy price tags, and everything starts and ends with maintenance. If you take care of the things the way they're meant to be taken care of, they'll pay you back in lasting as long as they should."
Below, Lane outlines five simple steps you can take on a regular basis to keep your at-home machinery running smoothly and efficiently — and help out the environment (and your pocketbook) in the process by keeping your energy use in check.
Clean the coils on your refrigerator
Our thoughts about the refrigerator tend to center around the goodies stocked away inside, but the key to keeping this appliance energy-efficient is around the back. Lane says you should be cleaning the machine's coils at least once every three months.
"There's a lot of loose hair, dust, dirt, and grime. Sometimes there's even pollen in the house. All of that can pile up on top of fridge coils, making it work harder to cool, allowing it to use more energy, and essentially spiking up the energy cost on your refrigerator," he explains.
To clean the coils, you'll need to pull the refrigerator away from the wall, which could be a heavy-duty task. Lane says it's key to know your limits — "don't throw your back out trying to move a big appliance" — and ask for help if you need it. It's also important to protect yourself from electrical mishaps by unplugging the fridge before you open up the back. Not to worry, though: The next step is quick and easy, and your food will be chilling out again in no time.
"To access the coils, all you need is a screwdriver," Lane says. "A lot of times it's behind a gate, and you'll unscrew the two or four screws, and then there are your coils right there. I always say to handle them gently. Handle them with care."
The final step? Grab your vacuum cleaner and suck up all the buildup clogging the coils. Lane says that with consistent maintenance, your refrigerator should use less energy and last at least 10 to 15 years. Here's a look at the entire process.
Shark Stratos Cordless Vacuum with Clean Sense& IQ PowerFins

Lane's go-to for cleaning refrigerator coils is the Shark Stratos cordless vacuum, which he says is easy to handle and carry around the house (and with plenty of different attachments, you'll use it for a lot more than your fridge).
Clean the dishwasher
Part of the rationale behind this one is simple logic: You wouldn't want to eat from a dirty plate, so why clean your dishes in a dirty dishwasher? But this is another instance of hidden buildup making an appliance less efficient.
"Think of the loose particles of foods — and maybe if you've ever broken a dish in the dishwasher. All of that can get clogged in the filter, and it will really affect the dishwasher's power, causing it to work harder to clean and dry the dishes," Lane says.
That extra work shows up in higher energy bills, meaning that "you're essentially paying for not maintaining your appliance," Lane explains.
You'll begin by clearing out any dishes inside, then removing the dishwasher's racks, spray arm, and filters. Soak these parts in soapy water, then give them a nice scrub. "Use a mild dish soap to rinse off any rice, pasta, tiny bits of glass — anything that may be clogging the filter and affecting its ability to actually work," Lane says.
Everyone's dishwasher is different, so if you're unsure which pieces are meant to come off and which should stay put, consult your owner's manual for an in-depth overview.
Once you've gotten everything looking shiny and new, finish the job by running two dish-free, detergent-free cycles: the first with one to two cups of vinegar in a bowl on the top rack, and the second with baking soda sprinkled on the bottom of the dishwasher.
You'll want to do this once every three months, and here's a visual tutorial of the steps.
Deep clean the washing machine
Here's another appliance with "wash" in the name that definitely doesn't clean itself without some help from you.
"Laundry detergent can be left behind, and if you don't clean the drum, it can get onto clothes or even clog pipes," Lane says. "Second, we're dealing with moisture in a washing machine, so you'll get mold and mildew if it's not cared for correctly."
Skipping this process can also cause odors and — you guessed it — less efficient performance that'll cost you in electricity.
The washer is another appliance with lots of removable parts, so you'll want to consult your manual to confirm what can come out. Soak those dispensers in soapy water and clean them, then scrub away any detergent buildup or other stains left behind around the spots where those dispensers belong. Lane uses a homemade mixture of one cup vinegar, one cup water, and one teaspoon of dish soap to break down mineral deposits, bacteria, and mold.
Finally, you'll clean the inside of the drum by hand, then use washing machine cleaning tablets and run a clean cycle to get that tub sparkling like you just brought it home from the hardware store. Follow along with all the steps here.
One last washing machine tip from Lane: "I advise people not to use fabric softener. It can make your clothes flammable, it leaves deposits in the washer, and it can screw up your machine."
Washing Machine Dishwasher & Disposal Cleaning Tablets (12-Month Supply)
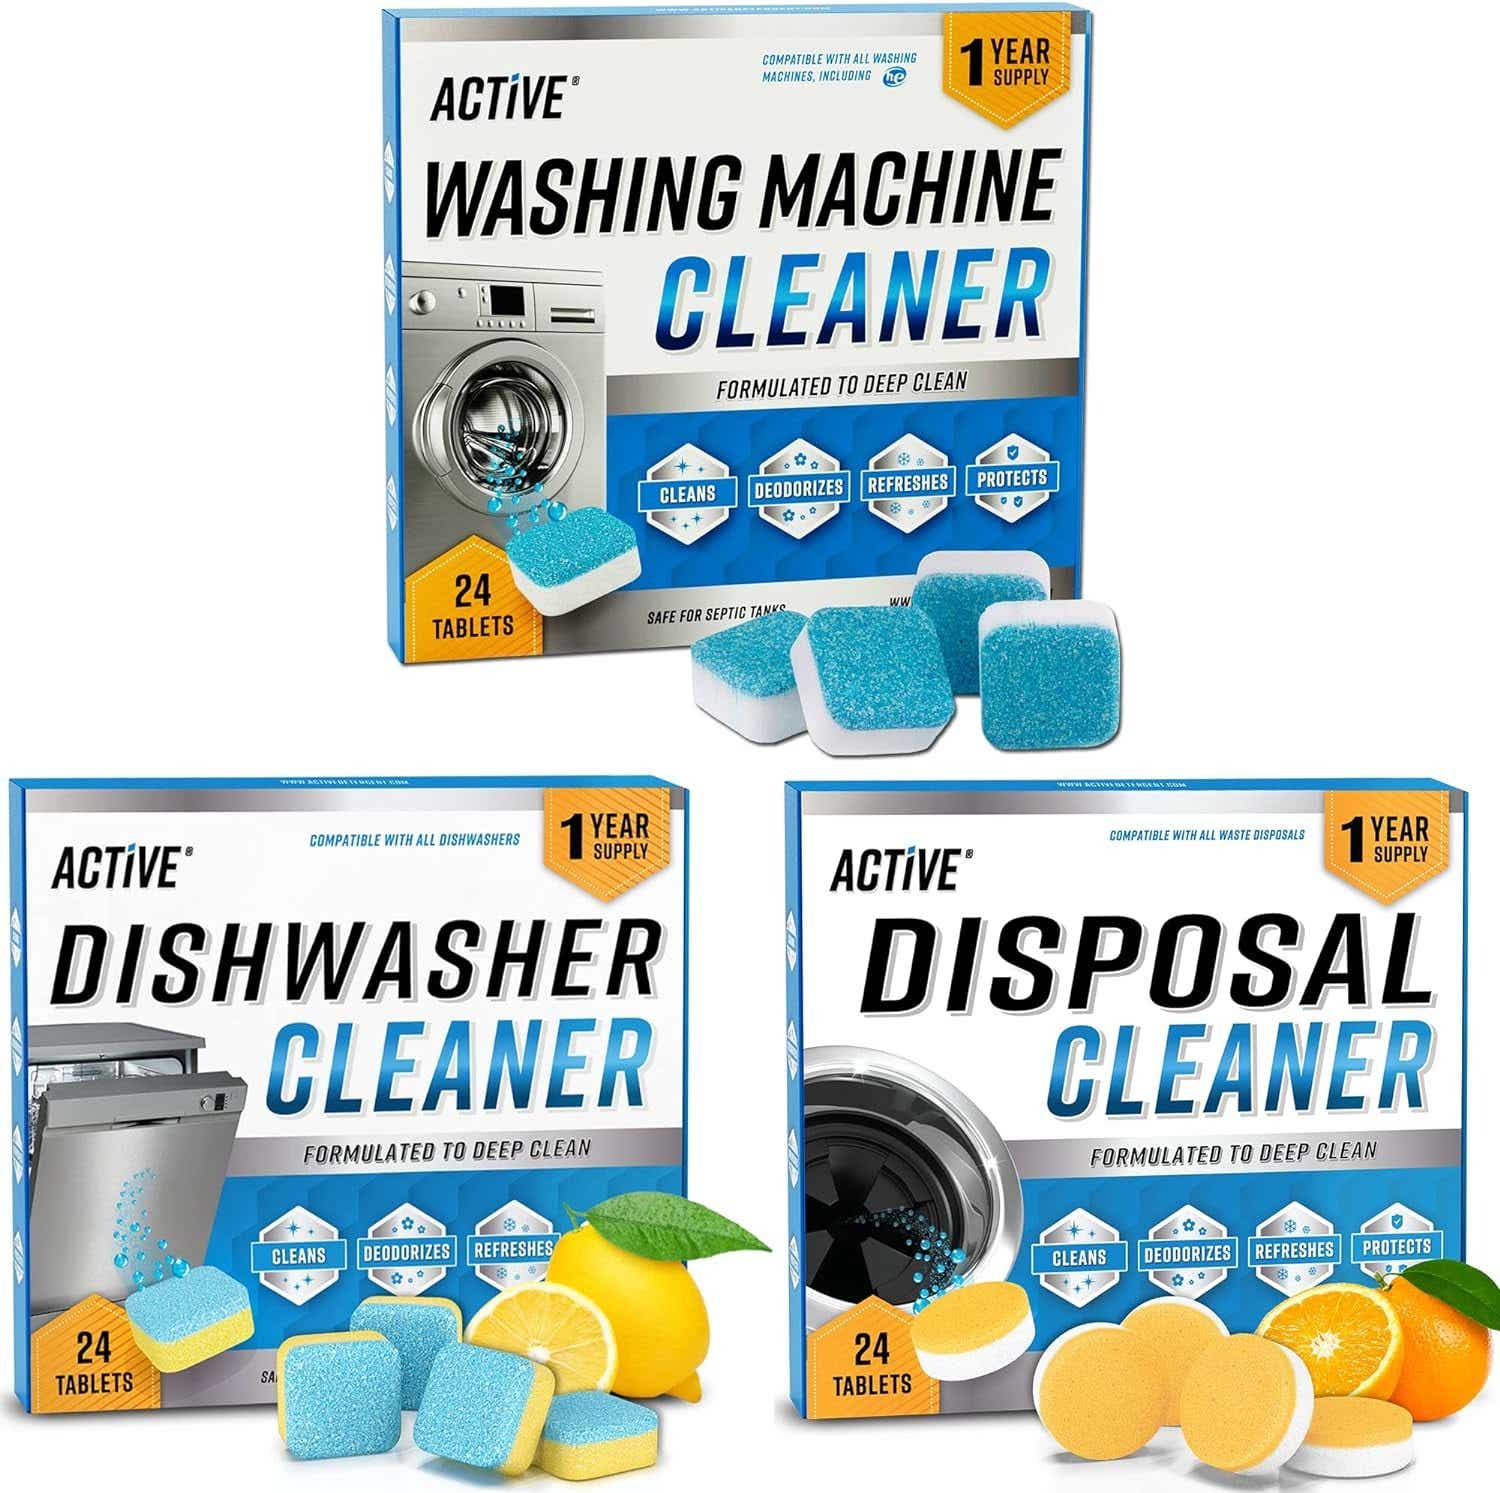
Need a recommendation for a product that'll work wonders during this final step? We love these tablets for the clean cycle, and this bundle offers an entire year's supply, so you won't have to worry about adding them to your grocery list every few weeks.
Set up your house for energy savings when you're on vacation
Traveling to an exciting destination is so thrilling that may be tempted to rush out of the house as soon as possible, but Lane recommends three key steps before you hit the road.
First, set your water heater to pilot or vacation mode. Don't turn it off completely, but use these energy reduction settings to avoid using unnecessary electricity while you're gone.
"If you're leaving for a few days and there's nobody in the home, you don't need hot water, right?" he says. "If water's not being used, there's no need to pay for the extra energy that's required to hear that water."
But vacation mode will still keep the water warm, so you're not returning to a completely frigid supply. When you get home, turn the heater back to its usual mode, and you'll have the hot water you're used to within five to 10 minutes.
Second, adjust your air conditioning to levels that won't be wasteful. Lane recommends 55 degrees in the winter, which will keep your pipes from freezing, and 78 degrees in the summer, which prevents high humidity. (Though if you have pets staying behind, you'll want to check on the appropriate temps for them so they'll stay comfortable.) And while you might be tempted to turn the system off completely when no one will be around, Lane says that's not a great idea.
"Many plants thrive in milder temperatures — plus, if it's too hot in the house, electronics can shut down or malfunction," he says. "And you don't want to return to a musty home. Once the air gets stagnant and still, that can invite mold."
But there is one thing you do want to completely turn off while you're away: your main water valve. That'll prevent any water damage from leaks that spring up when you're gone. Lane says he forgot to do this once and came home to thousands of dollars in damage.
Get a video tutorial of these recommendations right here.
Want more cleaning ideas? Try refreshing these items that you've most likely forgotten about...
Clean air vents and change filters
Your HVAC system isn't just one machine — it's an amalgamation of smaller parts that must work together effectively to keep your home comfortable and your air quality high. And while you probably know to change out your air filters every three months, you might be forgetting to clean the vents themselves.
"These vents are open holes, and anything can go down there," Lane says. "Dust will build up over time. Grime will build up. I have a little pet Yorkie, so I'm cognizant of things that will attract hair. And if the vents are clogged, that's going to force our HVAC units to work harder."
You'll start by shutting off the HVAC, then removing your vent covers, which might require a screwdriver. Wipe down the vent covers with a damp microfiber cloth and give them a healthy scrub with a soft-bristled brush to get rid of excess dirt — you definitely don't want those particles getting recirculated through the air you breathe. Finish up by vacuuming debris inside the vents before you seal them back up. Here's more on how to do it.
And here's one last tip from Lane for maintaining air quality at home: Leave your shoes at the door. "The bottom of our shoes carry so much gunk," he explains. "If you're wearing shoes around your house, please stop that immediately, because all of that bacteria gets into your home, allowing the HVAC to pick that up. Work with your systems and leave the bacteria outside."